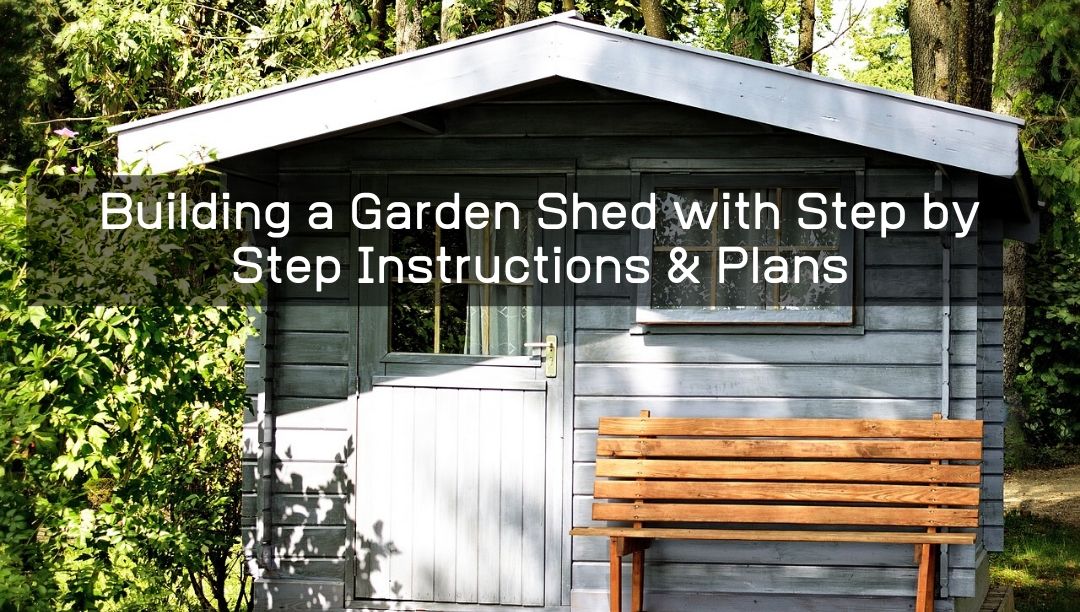
A garden shed serves as an excellent storage space where you can safely keep all your garden and lawn-related equipment such as leaf blowers, watering cans, lawnmowers, and many others. It is also super multipurpose, which makes it a highly useful addition to your backyard. You can even store BBQ supplies in a garden shed, which greatly prevents the hassle of moving them from one place to the other.
Most garden sheds are made of wood, which makes them incredibly durable and long-lasting. One great thing about wooden sheds is that they look super chic, and you can paint them your favorite color or create patterns to add a customized effect.
If your backyard doesn’t have a shed, you can easily build with from scratch. While building a garden shed isn’t an easy project, especially for beginners, you can still make one with the help of free woodworking plans available online. These plans also allow you to access garden shed plans PDF files that are easily downloadable on your laptop or computer.
However, if you are looking for a quick, step-by-step guide on how to build a garden shed right now, here’s an easy one for you with proper instructions and steps.
Step 1: Gather Essential Tools
First things first, you need to gather all the essential tools, supplies, and materials that you’d need to build a garden shed. These include the following:
- Hammer
- Wooden stakes
- Wood glue
- Sandpaper
- Carpenter’s pencil
- Hand saw
- Step ladder
- Safety equipment
- Wood clamps
- Wood chisels
- Screwdrivers
- Measuring tape
- Screws and nails
- Wood chisels
- Nail gun
Step 2: Cut the Wood
Once you have all the supplies in place, the next step is wood-cutting. You need proportionately-cut wooden pieces for four main things:
- Garden shed floor
- Garden shed ramp
- Garden shed door
- Garden shed base
Depending on how big or small you want your garden shed to be and also the amount of space you have available, cut the wooden boards accordingly.
Step 3: Triangular Roof Brace
If you’ve noticed, most garden sheds have a triangle-shaped roof brace, so it’s best to stick to that shape only. You first need to draw out the pattern or shape for the roof brace on a piece of plywood. You will require four different boards to make a vertical triangle.
Step 4: Build the Foundation
In order to protect your garden from moisture and other similar weather-related factors, you need a strong gravel foundation, which will greatly help keep the shed dry.
First, layer an adequate amount of gravel on the ground and smoothen it out with the help of a shovel. Then, place concrete blocks in evenly spaced-out rows on the gravel, followed by playing wooden boards on top of concrete blocks. Join the boards together with the help of a nail gun and some nails.
Step 5: Create Shed Walls
Once you have a solid foundation ready, move on to creating the walls for your garden shed. With the help of a chalk line, mark a platform that you wish to use a support for the back wall of the shed. Make sure the lines are parallel to each other by taking measurements at different points.
Then, lay out the wooden boards that you had cut earlier for the back wall and join them together with the help of the nail gun, hammer, and nails.
Repeat the same step for the side walls as well.
Step 6: Build the Door and Front Wall
To make the garden shed door, begin by creating a door frame. Use the wooden boards to mark the height of the door as well as the width. Nail the boards into place in order to form the frame.
Now, use this garden shed door frame to build the front wall. Keep the door in place in order to determine the size of the front wall. Cut a board in a way that it fits the top of the door frame perfectly. Cut another piece of board that goes from the previous board all the way to the top board of the wall frame.
Step 7: Nail the Roof Brace to the Side Walls
Take the triangular roof braces that you created earlier in step 3 and nail them to the top of the side walls.
Next, take a drill and start nailing all the walls together. Get someone to help you to raise the back wall in order to nail it in place. One by one, lift all the wooden walls that you created and nail them securely with the help of the drill and nails.
Step 8: The Roof
At this point, you should have a fully structured, standing-up garden shed, but without the roof. Create the roof by nailing a wooden board towards the top of the front and back walls. This will help provide a brace for the rafters that you need to place towards the sides of the board. Place a rafter on each end of the roof and make sure that they are evenly spaced out.
Step 9: Install the Door
The last thing left for you to do is install the door by attaching hinges on both the walls and the door. You will also have to drill a hole into the door to put in the latch.
Step 10: Paint the Shed (optional)
This is an optional step, but if you want, you can paint your shed with the help of outdoor latex paint. Painting gives it a smooth finish and also makes it look super pretty!
Now that you know how to build a garden shed, you can create your own without any problem. For your help, there are many free woodworking plans, and garden shed plans PDF files that are very detailed and laid out simply for your understanding.


0 Comments